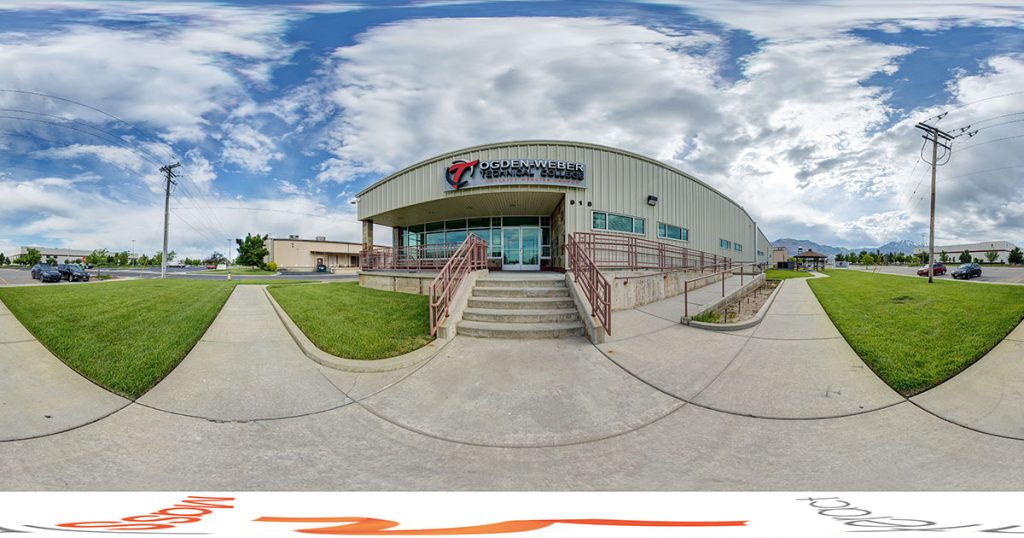
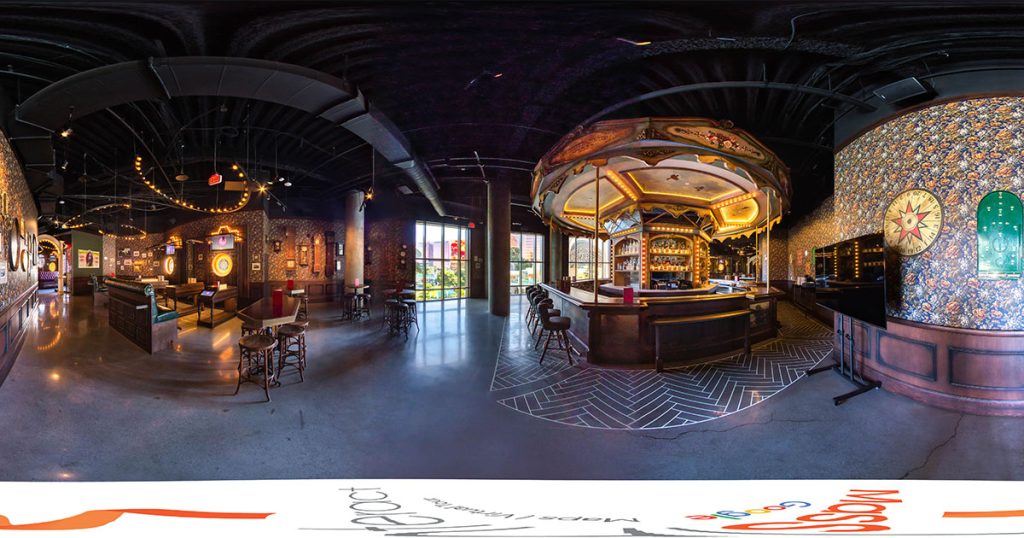
The COVID outbreak has made one thing crystal clear for businesses of all kinds and sizes. Going digital is the only way to survive, whether you want to engage your target audience, promote your products, communicate smoothly or get leads. And a Google virtual tour is one of the best digital marketing tools you can use for this. By adding it to your website, and not just your Google My Business listing, you can boost the traffic you see and nudge leads to become buyers. Whether you are a hotel, park, café, college or gymnasium, potential clients can take a tour of your premises from the comfort and safety of their homes. And once things get back to normal, they can decide to visit you. There is no better way to connect with the discerning consumer and gain edge over competitors!
Now, if you are wondering how to add a Google virtual tour to your website, it’s pretty easy. Just follow the 5 steps listed here.
Step 1
Read – Why Visual Marketing is the Future for Businesses
Head to Google Maps and look for the business listing that has the virtual tour you are planning to add to your website. Note that the embed code can be retrieved only from Google Maps. If you access your listing through Google Search, you won’t get a code. Next, click on a 360 thumbnail image and start browsing your tour.
Now, you have to pick a starting point for the virtual tour before adding it to your website. So, just explore the tour this way and that, until you find a spot that offers a wonderful view of your establishment. This image will be your starting point.
Step 2
Now, check the top left corner of your 360 image to locate 3 vertical dots. Click on them to get a popup menu. On this, click on the option that says ‘Share or Embed Image’.
Step 3
Now, it’s time to choose the size of the virtual tour you wish to host on your website. You can make this choice in the popup that appears. Small, medium and large are the three options available for size. Though most websites select any one of these options, some decide to personalize it a bit. To customize the size of the tour, simply choose the ‘Custom size’ option from the drop-down menu. Always remember to check the final image when you go for a custom size. To do this, click on the ‘Preview actual size’ link. If you are satisfied with the size, copy the html code in the box after highlighting it.
Read – Does Your Business Need a Virtual Tour?
Step 4
Next, you have to embed the copied html code on that particular website page where you wish to feature the virtual tour. After adding the html for the code, make sure you set the width to 100%. When it comes to the height, it should be ideally between 450px – 550px. This usually works well on most websites, irrespective of the device used. So, you are done. Your Google virtual tour is now on your website, ready to grab eyeballs!
Step 5
Last but not the least; view the tour on your website to make sure everything is fine. You can also send out the page to colleagues and friends, so that they can check too. The tour should work smoothly across devices.
In case you are not too sure of going through the steps above, get a bit of professional help to be on the safe side.


